Essential Guide to Upgrading from Analog to IP Cameras for Enhanced Security
- Chris Dudley

- 21 hours ago
- 4 min read
Security systems have evolved rapidly over the past decade. Many homes and businesses still rely on old analog cameras that offer limited image quality and fewer features. Upgrading to modern IP cameras can significantly improve security by providing clearer images, remote access, and smarter technology. This guide explains how to make the switch from analog to IP cameras smoothly and effectively.
Why Upgrade from Analog to IP Cameras
Analog cameras have served well for years but come with several limitations:
Lower image resolution: Analog cameras typically offer standard definition, making it harder to identify faces or details.
Limited scalability: Adding more cameras often requires complex wiring and additional hardware.
No remote access: Analog systems usually require on-site monitoring.
Basic features: They lack advanced functions like motion detection, night vision, and video analytics.
IP cameras use internet protocol to transmit video digitally, offering many advantages:
High-definition video: Most IP cameras provide HD or even 4K resolution.
Easy installation and expansion: IP cameras can connect over existing network cables or Wi-Fi.
Remote monitoring: Access live or recorded footage from anywhere using smartphones or computers.
Smart features: Many IP cameras include motion alerts, facial recognition, and integration with other smart devices.
Upgrading enhances security by delivering clearer images and more control over your surveillance system.
Assessing Your Current Setup
Before upgrading, evaluate your existing analog system to plan the transition:
Number of cameras: Count how many cameras you currently have and where they are installed.
Wiring type: Identify if your system uses coaxial cables, which are common for analog cameras.
Recording equipment: Check if you use a DVR (Digital Video Recorder) and its compatibility with IP systems.
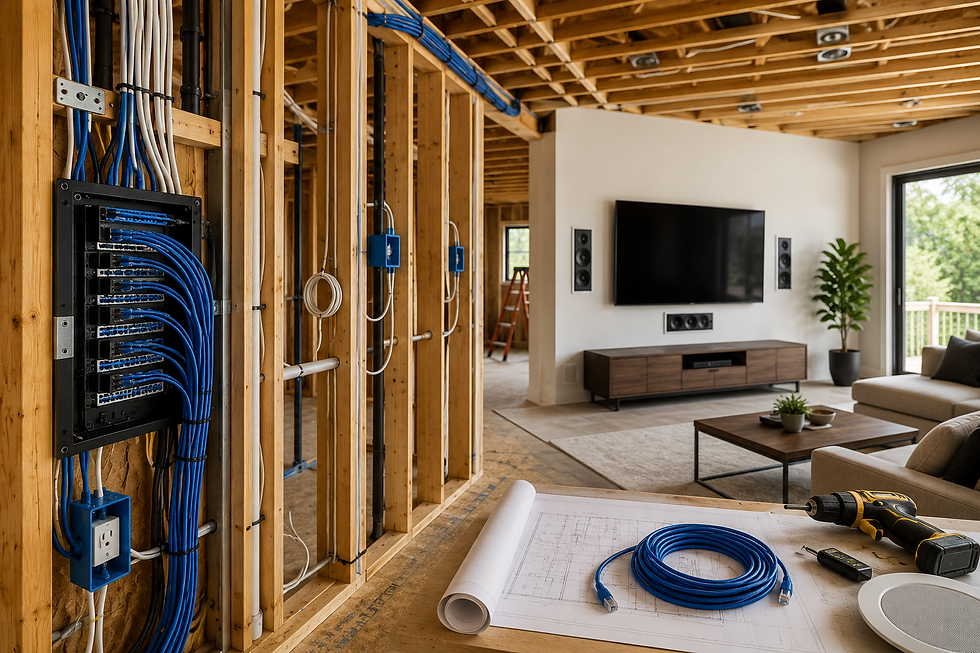
Network infrastructure: Determine if your building has Ethernet cabling or Wi-Fi coverage to support IP cameras.
Power supply: Analog cameras often use separate power cables, while many IP cameras use Power over Ethernet (PoE).
Understanding these factors helps decide whether to replace wiring or use adapters to integrate IP cameras with existing cables.
Choosing the Right IP Cameras
Selecting IP cameras depends on your security needs and environment. Consider these factors:
Resolution: For most uses, 1080p HD cameras provide clear images. For detailed surveillance, 4K cameras offer even better clarity.
Field of view: Wide-angle lenses cover larger areas but may reduce detail. Choose based on the area size.
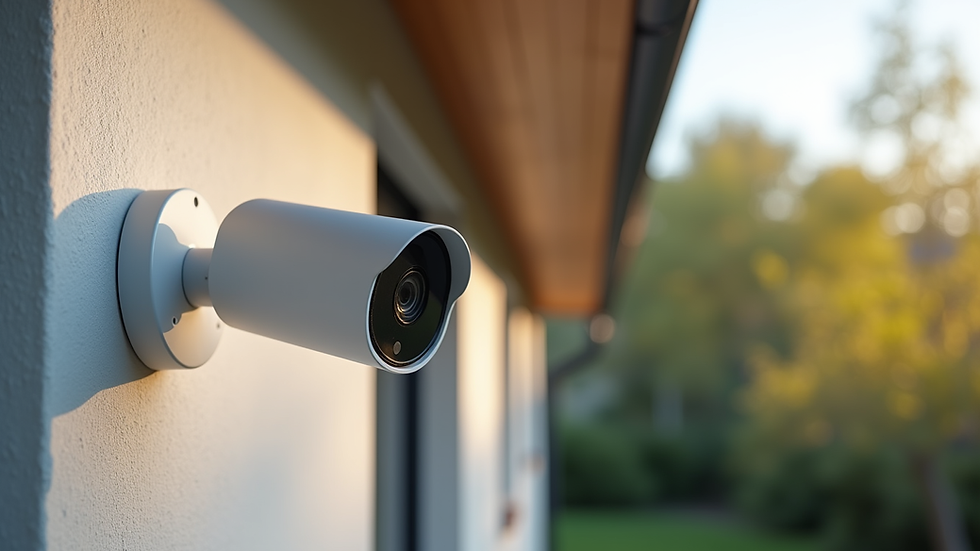
Indoor vs. outdoor: Outdoor cameras need weatherproof and vandal-resistant features.
Connectivity: Decide between wired PoE cameras for reliability or wireless cameras for flexible placement.
Features: Look for motion detection, night vision, two-way audio, and integration with security apps.
For example, a retail store might prioritize wide-angle outdoor cameras with motion alerts, while a home might focus on indoor cameras with two-way audio.
Planning the Upgrade Process
A well-planned upgrade avoids downtime and ensures compatibility:
Map camera locations: Document where each camera is installed and its coverage area.
Check network capacity: IP cameras use bandwidth; ensure your network can handle the additional load.
Decide on replacement or hybrid: You can replace all analog cameras or use video encoders to convert analog signals to IP.
Schedule installation: Plan installation during low-traffic hours to minimize disruption.
Backup existing footage: Save important recordings before switching systems.
Installation Tips for IP Cameras
Installing IP cameras differs from analog systems but is straightforward with the right approach:
Use PoE switches: Power over Ethernet simplifies wiring by delivering power and data through one cable.
Test network speed: Ensure your network supports the cameras’ data rate to avoid lag or dropped frames.
Secure camera mounts: Position cameras to cover key areas without obstructions.
Configure IP addresses: Assign static IPs or use DHCP reservations to keep cameras accessible.
Set up remote access: Install manufacturer apps or software to view cameras from mobile devices.
For example, a warehouse upgrading to IP cameras might install PoE switches in the server room and run Ethernet cables to each camera location.
Integrating with Existing Systems
You don’t have to discard your entire analog setup immediately. Hybrid systems allow gradual upgrades:
Video encoders: Convert analog camera signals to IP, letting you view analog footage on IP networks.
Network Video Recorders (NVRs): Some NVRs support both IP and analog inputs.
Software platforms: Use video management software that supports multiple camera types.
This approach reduces upfront costs and lets you upgrade cameras one by one.
Benefits Beyond Better Video
Upgrading to IP cameras offers advantages beyond image quality:
Scalability: Easily add more cameras without rewiring.
Advanced analytics: Use AI-powered features like people counting or license plate recognition.
Cloud storage: Store footage securely off-site to prevent loss from theft or damage.
Integration: Connect cameras with alarms, lighting, or access control for a complete security system.
For example, a school using IP cameras can set alerts for unusual activity after hours and integrate cameras with door locks.
Common Challenges and How to Overcome Them
Upgrading can present obstacles, but planning helps avoid them:
Network overload: Upgrade switches or segment networks to handle camera traffic.
Compatibility issues: Verify camera and recorder compatibility before purchase.
Installation complexity: Hire professional installers if unsure about wiring or configuration.
Cost concerns: Start with critical areas and expand gradually to spread expenses.
Maintaining Your New IP Camera System
Keep your system running smoothly with regular maintenance:
Firmware updates: Install updates to fix bugs and improve security.
Clean lenses: Dust or dirt can reduce image quality.
Check connections: Inspect cables and mounts periodically.
Review storage: Ensure enough space for recorded footage and archive old videos.
Routine checks prevent downtime and extend the lifespan of your cameras.

Comments